Wick and Wires: Your Essential Vape Coil and Material Guide (wick and wires)
Posted by Chris on
At their heart, wick and wires are the engine of your vape. They're the dynamic duo responsible for turning your e-liquid into the vapour you love. Think of the wick as the fuel line and the wire as the spark plug—get this combo right, and you've unlocked the secret to a perfect vape.
Why Your Wick and Wires Are So Important
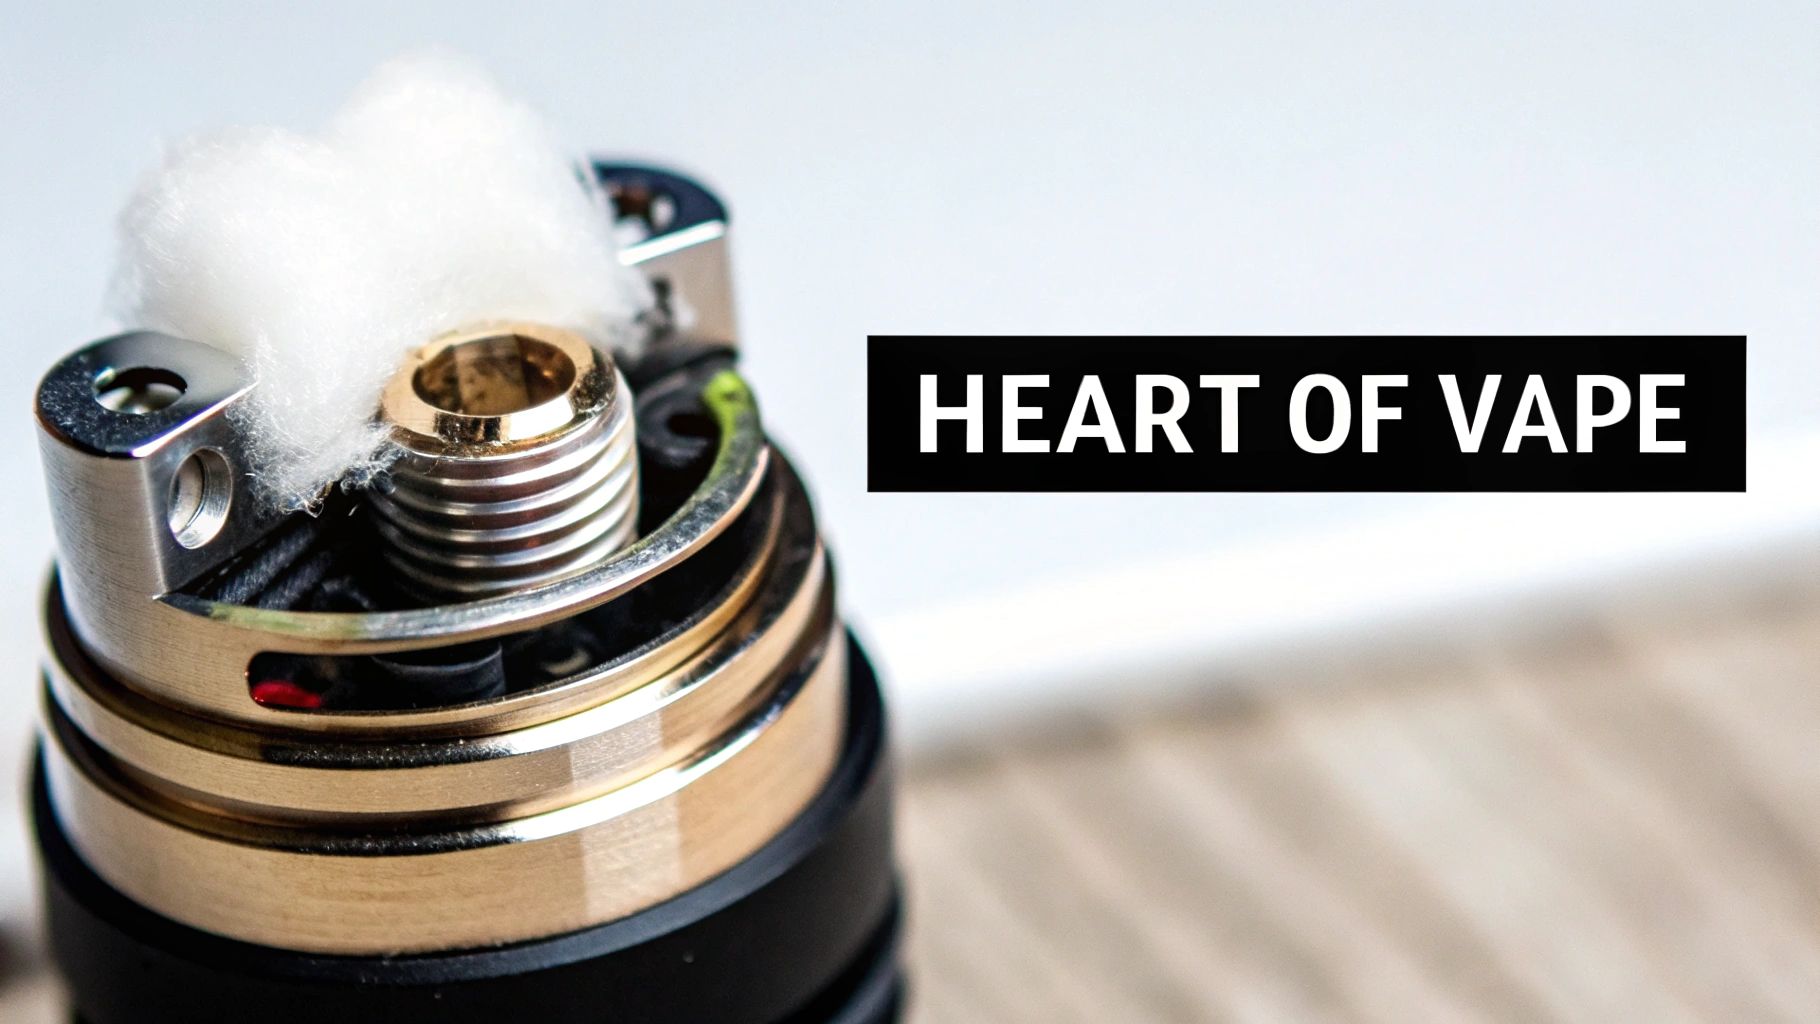
Picture a high-performance car. To run its best, it needs a clean fuel line and perfectly firing spark plugs. Your vape is no different. The wick and wire are the core of its performance, controlling everything from how intense the flavour is to how big your clouds are.
A good wick delivers a steady, consistent flow of e-liquid to the coil. A well-made wire coil heats that liquid up evenly and quickly. When these two are working in perfect harmony, they can take your favourite Twelve Monkeys or Lemon Drop e-liquid from just "good" to absolutely unforgettable.
The Two Core Concepts: Wicking and Resistance
To really get how this all works, you just need to grasp two simple ideas: wicking and resistance. These aren't super technical terms; they're just the basic mechanics behind every puff you take.
- Wicking: This is all about absorption. Your wick, which is usually made of cotton, soaks up e-liquid from the tank and holds it right up against the wire coil, waiting for the magic to happen.
- Resistance: This is about how much the wire fights the electricity flowing from your battery. This "fight" is what creates heat, turning the juice-soaked wick into vapour.
A bad pairing of wick and wire is the culprit behind common frustrations like burnt-tasting "dry hits" (not enough juice) or messy gurgling and leaking (too much juice). The goal is to find that sweet spot for your specific device and e-liquid.
This fundamental relationship is true for every single vape device out there, from complex rebuildable atomizers to the simplest disposables. Even the newest STLTH pods rely on finely tuned wicks and wires to give you a consistent experience. Understanding this helps you appreciate the engineering in a new Vaporesso mod and, more importantly, figure out what’s wrong when things go sideways.
A Growing Demand for Quality Components
Right here in Canada, especially around the Greater Toronto Area (GTA), the hunt for top-notch vape parts like wicks and wires has really taken off. For vapers in the GTA, this has a real-world impact. Disposables like the STLTH Eco, ELF Bar, and Lost Mary need precisely made wicks and wires to deliver consistent flavour and avoid those nasty dry burns.
Meanwhile, seasoned vapers tweaking their Vaporesso or SMOK mods are always looking for quality rebuildable supplies. Even savvy shoppers checking out sales benefit, as good-quality wires can cut down on how often you need to replace them by 25-30%, according to what users are saying in local forums. You can explore more insights on the Canadian vape market to see the bigger picture.
Choosing the Best Wicking Material for Your Vape
Alright, now that we've covered the basics of how your wick and wires work together, let's get into the fun part: picking the perfect wicking material for your setup. This is a bigger deal than you might think. The right wick can totally transform your vape, unlocking cleaner flavours or producing some seriously impressive clouds. It’s often the secret ingredient that takes a vape from just "good" to "great."
Think of it like choosing tires for a car. You wouldn't put off-road tires on a race car, right? Your wicking material is the same—it all depends on what you want to get out of your vape.
Organic Cotton: The Flavour Purist’s Choice
For most vapers, organic cotton is the king, and for good reason. It's the dependable, all-around performer that’s fantastic at delivering crisp, pure flavour. Since it’s unbleached and goes through minimal processing, it doesn't add any weird, unwanted tastes to your e-liquid.
This makes it the perfect companion for those complex, multi-layered e-liquids where you want to taste every single note. If you’re a fan of premium lines like Naked 100 or the juicy blends from Banana Bang, organic cotton ensures you’re getting the flavour exactly as the makers intended.
It’s also an excellent match for nicotine salt e-liquids, especially in popular mouth-to-lung (MTL) devices from brands like Uwell or SMOK. Its absorption rate is just right—it prevents flooding while still delivering a consistent, satisfying hit every time.
For flavour chasers, there's just no substitute for the purity of organic cotton. It’s like a blank canvas that lets the true personality of your e-liquid shine through.
Rayon: The Cloud Chaser’s Secret Weapon
If your goal is to chuck massive, dense clouds, then rayon is about to become your new best friend. It’s technically a fibre made from processed wood pulp, but the important thing to know is that it soaks up e-liquid way faster than cotton. This super-fast absorption is exactly why cloud chasers swear by it.
That speedy wicking is perfect for high-VG (vegetable glycerin) e-liquids. These liquids are thicker and can sometimes give cotton a hard time, leading to dreaded dry hits. Rayon, on the other hand, easily keeps up with the demands of low-resistance coils and high-wattage vaping, making sure your wick stays saturated and ready for action.
Picture yourself using a powerful SMOK mod with a rebuildable atomizer. Pairing it with a high-VG juice and a rayon wick means you can take longer, more frequent drags without that burnt taste creeping in. It's the high-performance fuel line for your cloud-producing engine.
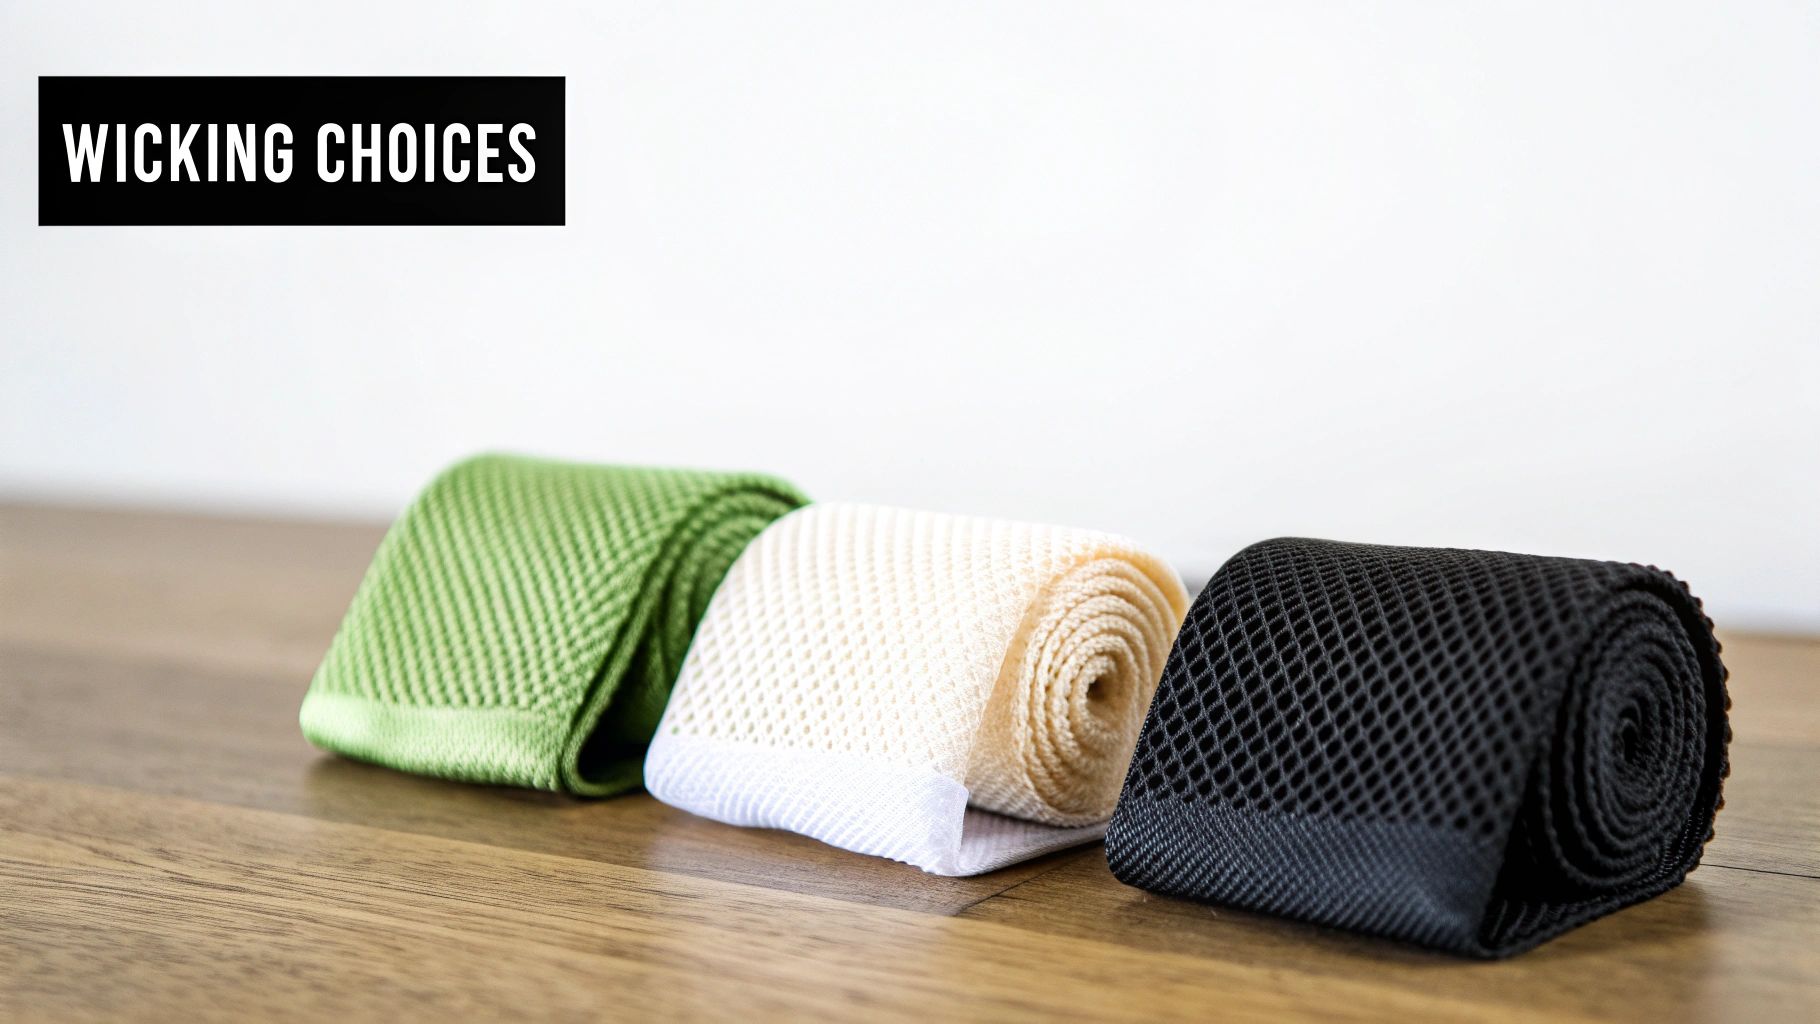
Wicking Material Comparison Guide
Choosing between different materials really boils down to your personal preference and the gear you're running. To make things a bit easier, we've put together this quick guide to help you pick the right wick and wires combo.
| Material | Best For | Pros | Cons | Pairs Well With (E-Liquid Type) |
|---|---|---|---|---|
| Organic Cotton | Flavour Purity & All-Around Use | Clean taste, easy to work with, widely available. | Can burn if not kept saturated, slower wicking than rayon. | 50/50 VG/PG, Nicotine Salts. |
| Rayon | Cloud Production & High-VG Liquids | Wicks incredibly fast, resistant to burning. | Can impart a slight taste until broken in, less forgiving if wicked too tightly. | High-VG (70%+). |
| Mesh | Rebuildable Mesh Atomizers (RMAs) | Excellent flavour, fast ramp-up time, even heating. | Requires specific mesh-compatible atomizers, can be tricky to install. | Both 50/50 and High-VG. |
At the end of the day, the best way to find your perfect match is simply to experiment a little. Here at Wii Vape, we keep a wide variety of wicking materials on hand to suit every vaper across the GTA. Whether you're fine-tuning a Uwell Caliburn for maximum flavour with nic salts or building a cloud machine with a new Voopoo mod, we’ve got the right wick and wires to help you build your perfect vape.
A Deep Dive into Different Vape Wire Types
If your wick is the fuel line, then your wire is the engine's spark plug—it’s where the magic really happens. Choosing the right vape wire isn't just some technical detail; it’s a creative choice that directly shapes the warmth, flavour, and clouds you get from your vape.
Think of it like a chef picking the right pan. A heavy cast-iron skillet gives you a totally different result than a non-stick pan, and in the same way, different wire materials completely transform your vaping experience. The metal in your coil determines how the power from your mod is actually used.
Let's break down the most popular types of vape wires you'll find, moving past the nerdy specs to focus on what they actually do for you.
Kanthal A-1: The Dependable Workhorse
Kanthal is the trusty sedan of the vaping world. It's reliable, incredibly easy to work with, and super forgiving, which makes it the go-to choice for anyone just starting to build their own coils.
It’s a simple iron-chromium-aluminium alloy that holds its shape well and has a very stable resistance. That means you don’t need a fancy mod with temperature control to use it—it just works. Because of its straightforward nature, Kanthal is perfect for standard wattage-only vaping. You set your power, and it delivers a consistent, steady heat every time.
If you're looking for a no-fuss introduction to coil building, picking up a quality spool is a fantastic first step. For a solid starting point, you can explore options like the Vapowire 22 AWG Kanthal A-1 wire spool to see what a reliable workhorse feels like.
Nichrome: The Speedy Flavour Engine
Meet Kanthal’s sportier cousin: Nichrome (often called Ni80). Made from a nickel and chromium alloy, its biggest claim to fame is a much faster ramp-up time. This means it heats up way quicker than Kanthal when you hit the fire button, giving you an almost instant burst of vapour.
This rapid heating can bring out different notes in your e-liquid, making it a huge favourite among flavour chasers. It does have a lower melting point, though, so you have to be a bit careful not to "dry burn" it at crazy-high wattages. All in all, it's a great option for vapers who want a responsive, flavourful hit without getting into the complexities of temperature control.
Stainless Steel: The Versatile Professional
Stainless Steel (specifically SS316L) is the multi-tool of vape wires. What makes it so special is that it can be used in both standard wattage mode and temperature control (TC) mode. This versatility makes it a favourite among experienced vapers who love to switch things up.
In wattage mode, it acts a lot like Nichrome, with a quick ramp-up and a very clean flavour profile. But when you pair it with an advanced mod, you can flip over to TC mode. This lets you set a maximum temperature for your coil, which pretty much eliminates dry hits and gives you an incredibly consistent vape from start to finish. It’s the perfect wire for tinkerers who want total control.
The real magic of building is discovering how different materials interact with your favourite e-liquids. A simple Kanthal build might highlight the creamy notes in a dessert flavour, while a quick-firing Nichrome coil could make the citrus in a fruit blend pop.
Unlocking Deeper Flavour with Complex Coils
Beyond just the metal, the structure of the wire plays a massive role. You might hear names like "Clapton," "Fused Clapton," or "Alien" coils. These aren't just fancy marketing terms; they refer to complex builds where one or more wires are wrapped around a central core.
Imagine a simple wire is like a single guitar string. A Clapton coil, on the other hand, is like a bass guitar string—a thin wire wrapped tightly around a thick one. This design creates tons of tiny grooves and a much larger surface area. More surface area means the coil can vaporize more e-liquid at once, resulting in seriously intense flavour and much denser clouds.
For vapers in the GTA's 19+ scene, even those using disposables like Geek Bar or pre-filled pods like Allo Sync, the principles of quality wicks and wires are key. Wicks must handle different nicotine strengths effectively, with premium cotton setups in rebuildables achieving 95% efficiency when paired with 0.4-ohm wires for a perfect mouth-to-lung draw. Wii Vape’s selection of Uwell tanks and Voopoo mods is perfectly suited for this, and sales data shows that local vape shops capture a huge portion of this market. Investing in quality wires that can handle up to 80W without creating hotspots saves money in the long run. Discover more insights about the shaping of the Canadian vape market.
How to Build and Wick Your First Coil
Ready to take the wheel and get full control of your vape? Building your own coils might seem like a big leap, but trust me, it’s one of the most satisfying things you can do in vaping. It's the ultimate way to customize your experience, opening up a world of flavour and vapour that stock coils just can't touch.
Think of it like graduating from a pre-made meal to cooking your own signature dish. You get to pick every single ingredient—the wire type, the number of wraps, the coil's diameter—to cook up something that’s perfectly tuned to your taste. This guide will walk you through building your first simple coil and wicking it like you’ve been doing it for years.
Gathering Your Essential Tools
Before you even think about twisting wire, you need to get your gear in order. A solid toolkit is a coil builder's best friend; it makes the entire process smoother, safer, and way more enjoyable. You don't need a massive workshop, just a few key items.
Here’s a quick checklist of the must-haves you'll find at Wii Vape:
- Resistance Wire: A spool of Kanthal or Nichrome is a fantastic starting point for beginners.
- Organic Cotton: This will be your wicking material for that pure, clean flavour.
- Coil Jig or Screwdriver: You'll need something to wrap your wire around to get a consistent diameter.
- Wire Cutters: For clean, flush cuts. Snips work great.
- Ceramic Tweezers: These are crucial. You’ll use them to pinch and adjust your coil while it's hot without causing a short circuit.
- Scissors: For trimming your cotton wick to the perfect length.
- An Ohm Reader or Regulated Mod: This is a non-negotiable safety tool. You absolutely must check your coil's resistance.
Once you’ve got your tools laid out and ready, it’s time to start wrapping. Let's build your first simple round-wire coil.
Wrapping Your First Simple Coil
The name of the game here is consistency. Your goal is to create a neat, evenly spaced coil that will heat up perfectly from the inside out. We'll aim for a simple 2.5mm inner diameter coil with 6 wraps—a brilliant starting point that works well in most rebuildable atomizers (RDAs or RTAs).
- Cut the Wire: Snip off a 15-20 cm piece of wire from your spool. This gives you plenty of extra length to hold onto and work with.
- Anchor the Wire: Grab your coil jig (or a 2.5mm screwdriver) in one hand. With the other, hold one end of the wire firmly against the post.
- Wrap Tightly: Start wrapping the wire around the post. Keep the tension nice and firm, making sure each wrap sits snugly right next to the previous one. Count them as you go—we're looking for six full loops.
- Position the Legs: After your sixth wrap, make sure both "legs" (the straight ends of the wire) are pointing in the same direction. This little detail makes installation a breeze.
- Trim the Excess: Gently slide the finished coil off the jig. That’s it! Your first coil is ready to be installed.
For those who get the building bug and want to try more advanced builds like Claptons, a dedicated tool like the Coil Master 314 Clapton Maker can automate the tricky parts and really expand your creative options.
Installation and Fine-Tuning
Alright, let's get that new coil into your atomizer and make it glow just right. This is where we check for any problems before adding the wick.
First, loosen the post screws on your atomizer’s build deck. Carefully pop the legs of your coil into the post holes and gently tighten the screws to lock it down. Now, use your coil jig to position the coil right in the centre of the deck. Eyeball it to make sure it isn’t touching the posts, the base, or the top cap.
The most crucial step here is checking for "hotspots"—those pesky little areas on the coil that glow way brighter than the rest. Hotspots create an uneven heat that leads to a harsh, burnt taste. To fix them, gently pulse the fire button on your mod at a low wattage until the coil glows, then release. While it’s still warm, give the coil a light strum or a gentle pinch with your ceramic tweezers.
Keep pulsing and strumming until the coil glows beautifully and evenly, starting from the centre and working its way outwards. Once it’s perfect, you’re ready to wick it up.
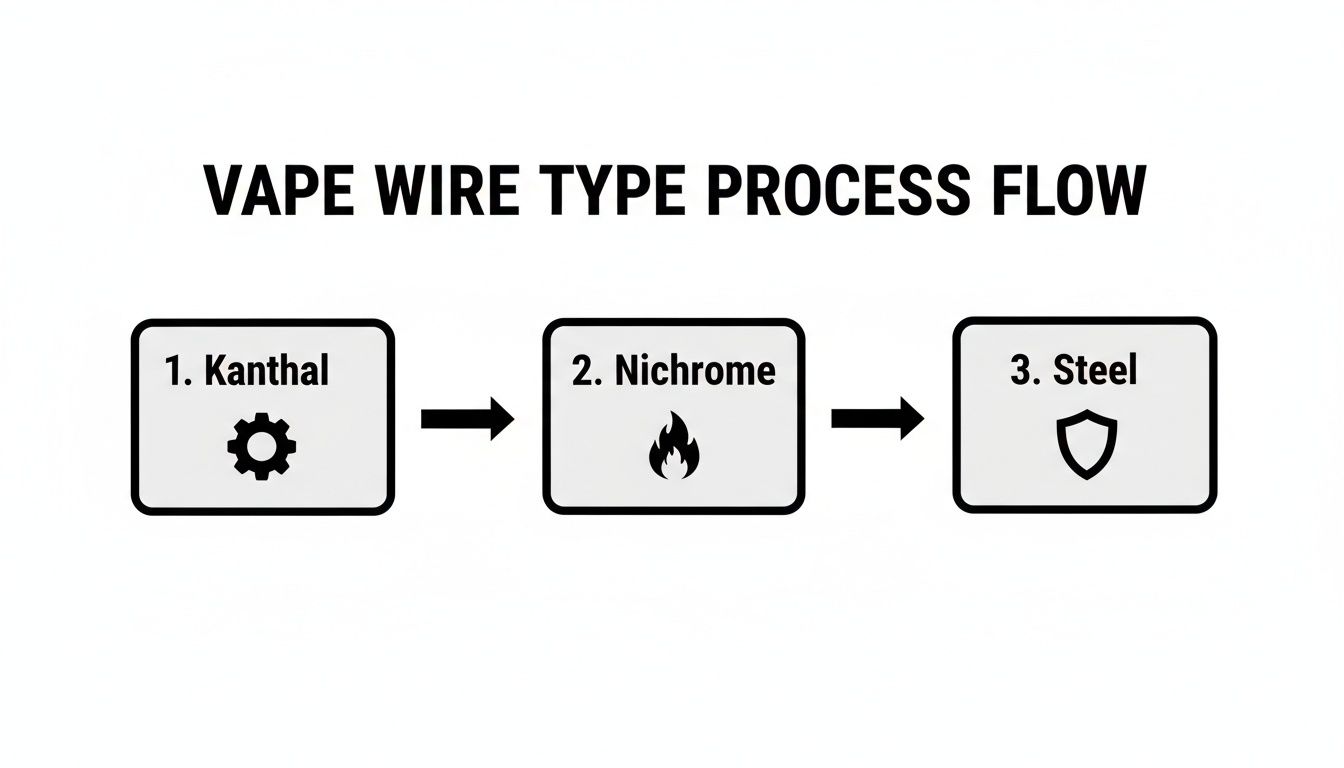
This quick visual breaks down the personality of each popular wire: Kanthal is the reliable workhorse, Nichrome is the speed demon, and Steel is the versatile all-rounder. It’s a great way to visualize which one best suits your build style.
Mastering the Wicking Process
Wicking your coil properly is the final piece of the puzzle. Get this right, and you'll say goodbye to dry hits and annoying leaks. A popular and effective method is the "Scottish Roll," which really helps maximize juice absorption and flavour.
Start by taking a strip of your organic cotton and gently peel off the thin, compressed layers on the top and bottom. Carefully stretch the cotton outwards until it's about twice its original width. Now, roll it into a tube—you want it tight on the outside but still nice and fluffy on the inside.
Next, thread your cotton "snake" through the coil. You should feel just a bit of resistance. The fit should be snug, but not so tight that it yanks or deforms your coil. Finally, trim the ends of the cotton. You want to leave just enough length to tuck them down into the atomizer's juice wells without stuffing them in too tight.
Fluff up the ends a bit, gently tuck them in, and saturate your new wick and wires with plenty of e-liquid. That's it! You're ready to vape and enjoy the incredible, clean flavour of your own custom build.
Troubleshooting Common Wick and Wire Problems
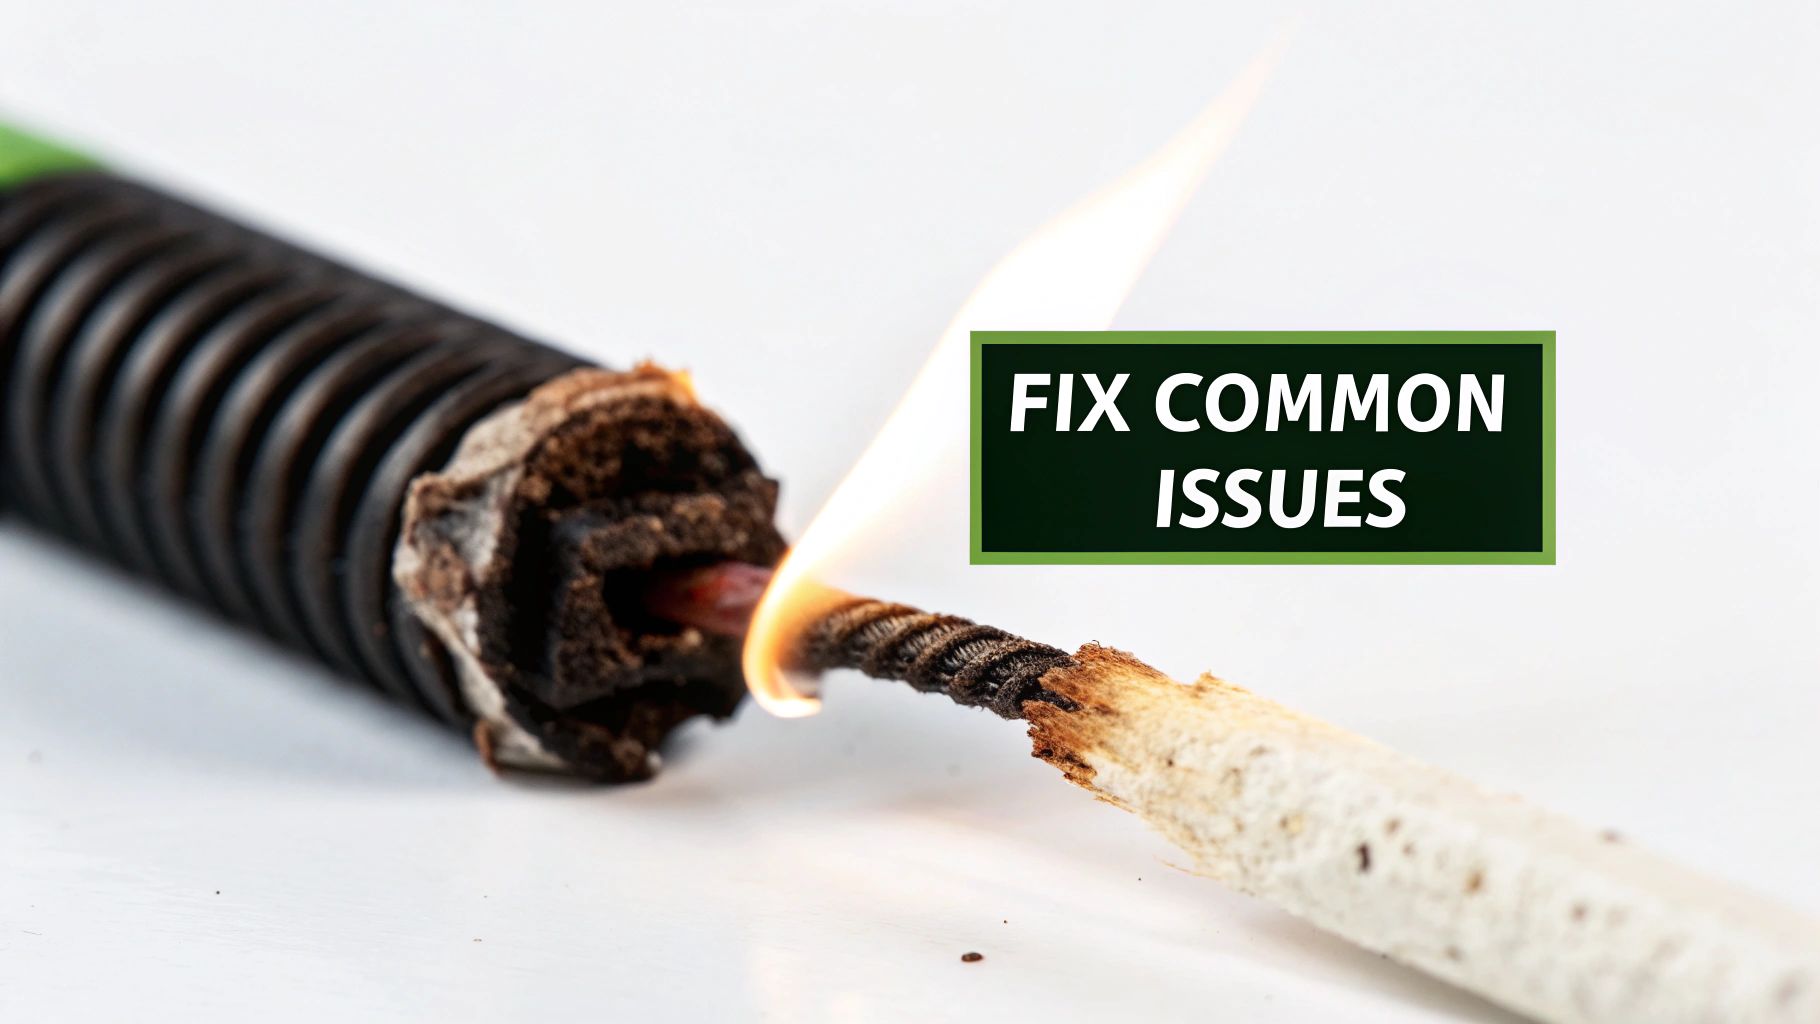
Even the most seasoned vapers run into a snag every now and then. One minute you're enjoying your favourite e-liquid, the next, something's just… off. The good news? Most of these frustrating little issues can be traced right back to your wick and wires, and the fixes are usually pretty straightforward.
Think of this as your personal cheat sheet for fixing those all-too-common vaping headaches. Whether it’s that nasty burnt taste or a tank that’s decided to leak all over your new mod, we'll walk you through how to get your Innokin or Vaporesso devices running smoothly again.
Diagnosing the Dreaded Dry Hit
You know it the second it happens. That harsh, fiery, and completely foul taste of a dry hit is unforgettable—and not in a good way. It’s what happens when your coil gets hot but there isn't enough e-liquid on the wick to vaporize. Instead, you get a mouthful of burnt cotton. Yuck.
Nine times out of ten, this is a wicking issue. If you've packed your cotton too tightly through the coil, you've created a bottleneck. The e-liquid just can't flow fast enough to keep up with the heat.
- The Fix: When you're re-wicking, you're looking for that "just right" feeling. Your cotton should be snug inside the coil, but you should still be able to slide it back and forth with only a little bit of resistance. If you have to yank it through, it's way too tight.
Another classic cause is chain vaping, where you're taking puffs so quickly that the wick doesn't have time to re-saturate. This is especially common with thick, high-VG juices. The fix is simple: just slow down and give your vape a few seconds to breathe between hits.
Putting a Stop to Leaks and Gurgling
There's nothing worse than picking up your mod and finding it sitting in a sticky puddle of e-liquid. Leaks, and that tell-tale gurgling sound, are usually caused by the exact opposite problem of a dry hit: your wick is too loose.
When there's not enough cotton filling the coil or blocking the juice ports, the chamber floods. The coil can't vaporize the e-liquid fast enough, and the excess juice has to go somewhere—either out your airflow holes or straight up the chimney, causing that gurgle.
A perfect wick strikes a delicate balance. It needs to be fluffy enough to absorb liquid quickly but dense enough to create a seal in the juice ports, preventing floods.
To fix this, simply use a bit more cotton on your next build. Make sure you fluff up the ends of your wick and gently tuck them into the juice channels. You want to fill the space without compressing the cotton into a hard lump, creating a perfect dam that lets juice in at a controlled pace.
Solving Muted Flavour and Short Coil Life
Ever notice that your go-to Banana Bang e-liquid just doesn't taste right anymore? That dull, muted flavour is often the first warning sign that your coil is on its last legs. Over time, all the sweeteners and flavourings in your e-liquid caramelize on the wire, creating a dark, crusty buildup known as "coil gunk."
This gunk is bad news. It acts like an insulator, preventing your coil from heating the e-liquid properly. This not only murders your flavour but also makes your device work harder, which can shorten the lifespan of both your wick and wires.
To get that crisp flavour back and make your coils last longer, try these tips:
- Clean Your Coils: When you re-wick, you can give your coil a quick clean. Gently pulse the fire button at a low wattage until the gunk glows and turns to ash. Let it cool completely, then give it a light brush with a coil tool. (Pro-tip: a quick rinse under the tap works too, but make sure it's bone dry before you add a new wick!)
- Choose Your Juice Wisely: Those super-sweet, dessert-flavoured, or dark-coloured e-liquids are notorious coil killers. If you’re tired of constant maintenance, switching to clearer juices can make a huge difference.
- Regular Maintenance: Don't wait until the flavour is totally gone. Making a habit of re-wicking your coil every few days—especially if you vape a lot—is the single best thing you can do for consistent performance.
By learning to spot these signs, you can tackle any problem that comes your way and keep your vape experience top-notch.
A Crash Course in Vape Safety and Ohm's Law
Jumping into building your own coils is a game-changer. It gives you incredible control over your vape experience, but it also comes with a new level of responsibility. Your vape mod is basically a small, powerful electrical circuit, and treating it with respect is key. This isn't about becoming an electrical engineer; it's about understanding the basics to keep things safe and enjoyable.
The foundation of it all is Ohm's Law. It sounds a bit like something from a high school physics test, but the idea is actually pretty straightforward.
Think of it like a garden hose. The pressure from the tap is your battery's voltage. The width of the hose is your coil's resistance. And the amount of water flowing out is the current. A super narrow hose (high resistance) will only let a trickle of water through, while a wide-open firehose (low resistance) lets a massive amount of water gush out. Ohm's Law just describes that exact relationship in your vape.
Practical Safety Checks You Can't Afford to Skip
Knowing the theory is one thing, but putting it into practice is what really matters. For our 19+ adult customers here in Toronto, we at Wii Vape can't stress this enough: responsible building starts with a few simple checks before you even think about hitting that fire button.
-
Always Use an Ohm Reader: Before you screw that new build into your mod, test it. A dedicated Ohm reader or a reliable regulated mod will tell you the exact resistance and, more importantly, warn you if there's a dangerous short circuit.
-
Check Your Battery Wraps: That thin plastic wrap on your battery is its only line of defence. If you spot even a tiny nick or tear, stop. Rewrapping a battery is incredibly cheap and easy, and it prevents the kind of short that can lead to serious trouble.
-
Know Your Battery's Limits: Every battery has a "continuous discharge rate," or CDR. This is its safety limit. Pushing a battery past its CDR by building a coil with too low of a resistance is asking for disaster. Always make sure your build is well within the safe range for the batteries you're using.
Think of your batteries as the heart of your entire setup. Sticking with high-quality, authentic batteries and using a proper external charger isn't just a good idea—it's absolutely essential for both safety and performance.
Following these steps makes sure your journey into custom wick and wires is all about great flavour and not nasty surprises. If you want to get more into the weeds on battery care, check out our guide on 18650 rechargeable batteries.
Got Questions About Wicks and Wires? We’ve Got Answers.
We get asked all the time about the little details that make a big difference in building. It's one of our favourite topics, and we’re always happy to help our fellow Toronto vapers nail their setups. Here are a few of the most common questions we hear, along with some straight-up advice.
So, How Often Do I Really Need to Change My Wick and Coil?
Honestly, there’s no single right answer—it all comes down to how you vape and what you’re vaping. Got a sweet tooth for those rich, dessert-style juices? You'll notice they tend to caramelize and gunk up your coils pretty quickly. If that's you, you'll probably find yourself re-wicking every 1-3 days and maybe swapping the coil out completely once a week.
Now, if you're a more occasional vaper or you stick to simpler, clearer e-liquids, you can easily stretch that out to a week or even longer. The best way to know for sure? Trust your taste buds. As soon as the flavour starts to fade or you get that dreaded burnt taste, it's definitely time for a refresh.
Can I Use the Same Wire for Both Wattage and Temp Control Modes?
Great question, and the answer is a solid "it depends" on the metal. If you want a wire that can do it all, Stainless Steel (SS316L) is your hero. It performs beautifully in regular wattage mode and is also fantastic for temperature control (TC), making it a super versatile choice for anyone who likes to switch things up.
On the other hand, some wires are specialists. Kanthal and Nichrome, for example, are strictly for wattage mode. Trying to use them in TC won't work and isn't safe. The opposite is true for metals like Titanium and Nickel (Ni200), which are built specifically for TC mode and can be dangerous if you fire them in wattage mode. Always, always double-check what your mod supports and what wire you’ve got in your hands.
Quick tip for nic salt users: The best experience usually comes from a low-power, mouth-to-lung (MTL) build. Think a higher resistance coil (anything over 1.0 ohm) made from simple Kanthal wire, paired with some fluffy, pure organic cotton. This combo delivers that clean, crisp flavour nic salts are known for.
At Wii Vape, we're constantly stocking up on the best and latest rebuildable gear, from top-tier atomizers to spools of premium wire. Whether you’re dialing in a precise MTL build for your favourite nic salts or chasing massive clouds with a new Vaporesso mod, we’ve got exactly what you need to get it done right. Explore our collection today!